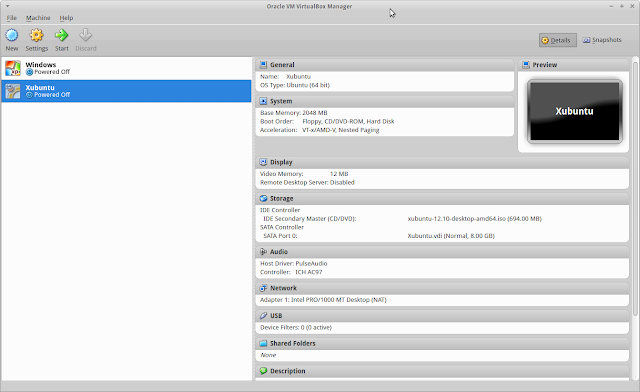
The steps were:
1.- Create a new virtual machine (with 8GB of hard disk in a .vdi file), and attach to it the xubuntu CD.
2.- Create an ext3 partition in the .vdi file (the virtual machine's hard disk) and label it casper-rw:
3.- Try it.
When starting the virtual machine, type F6 to get into the LiveCD options, then with F6 again, include "persistent". (Also useful to change the keymap with F3). Every time we want to access the persistent partition, we will need to add "persistent" to the boot options (there are ways to modify the .ISO file so we don't need to do this, but I'm only using this option rarely, so it is not worth it).
4.- Transfer one of my LiveCD with persistent file to the VirtualBox.
Since this is almost only for demo purposes of my multiboot stick, when I don't want to reboot a PC, I want to be able to load one of my existing LiveCD distros (which use a casper-rw file instead of a casper-rw partition) in VirtualBox (somehow I only got the persistent mode to work inside VirtualBox with a casper-rw partition, not with a casper-rw file as I do it now with the Multiboot USB stick).
At my desktop I have the casper-rw file with all the required modifications at: /home/angelv/Desktop/xubuntu-casper-rw
I start Xubuntu in VirtualBox (without the persistent option), and then I want to copy the contents of the casper-rw file into the casper-rw partition. If you have shared folders or USB support for VirtualBox this is easier, but since I don't right now, I just do it through ssh to the VirtualBox host (192.168.1.12 in my case).
That's it. Now we have a copy of our LiveCD with the persitent changes, that we can use from within VirtualBox.
(In my case, and to match the experience in my Multiboot USB stick, I not only add persistent to the boot options, but I add: persistent hostname=nomada username=angelv userfullname=AngeldeVicente)


No comments:
Post a Comment